Integrating Amazon Inspector into a CI/CD pipeline
In this module, you will learn how to integrate Amazon Inspector container image scans directly into your CI/CD pipeline to scan for software vulnerabilities, and provide reports at the end of your build. This feature allows customers to investigate, and remediate, risks before deployment.
The Amazon Inspector CI/CD integration utilizes a combination of the Amazon Inspector SBOM Generator, and the Amazon Inspector Scan API, to produce vulnerability reports for your container images. The Amazon Inspector SBOM Generator creates a software bill of materials (SBOM) from a provided container image, then, the Amazon Inspector Scan API scans that SBOM and creates a report with details on any vulnerabilities detected.
You can achieve a CI/CD integration with Amazon Inspector through the Amazon Inspector plugins purposefully built for individual CI/CD solutions and available in their marketplace, or you can create your own custom scanning integration.
Use the Jenkins plugin to integrate Amazon Inspector into your CI/CD pipeline. You will use images that are located in Docker Hub.
Install Jenkins on an EC2 instance
In this section, you will install Jenkins and the Amazon Inspector SBOM Generator on an EC2 instance. Jenkins is an open-source automation server that integrates with a number of AWS Services, including: AWS CodeCommit, AWS CodeDeploy, Amazon EC2 Spot, and Amazon EC2 Fleet. The Amazon Inspector SBOM Generator (Sbomgen) is a binary tool that produces a software bill of materials (SBOM) for a container image. An SBOM is a collected inventory of the software installed on a system. Sbomgen works by scanning for files known to contain information about installed packages. If one of these files is found, the tool extracts package names, versions, and other metadata.
Navigate to Amazon EC2 console and open the Instances page. https://us-east-1.console.aws.amazon.com/ec2/home?region=us-east-1#Instances:instanceState=running
Select the Jenkins instance, and click the Connect button at the top of the page.
Switch to the Session Manager tab on the Connect to instance page.
Click Connect. This will open a Systems Manager session.
Download the Jenkins repo.
sudo wget -O /etc/yum.repos.d/jenkins.repo https://pkg.jenkins.io/redhat-stable/jenkins.repoImport a key file from Jenkins to enable installation.
sudo rpm --import https://pkg.jenkins.io/redhat-stable/jenkins.io-2023.keyUpgrade any Jenkins components.
sudo yum upgradeInstall Java.
sudo yum install java-11-amazon-corretto -yInstall Jenkins.
sudo yum install jenkins -yEnable the Jenkins service to start at boot.
sudo systemctl enable jenkinsStart Jenkins as a service.
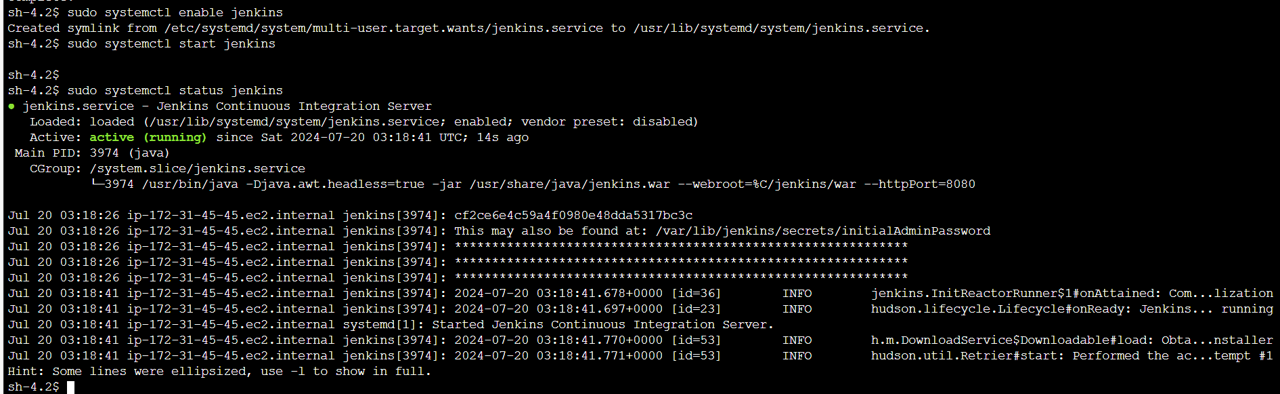
sudo systemctl start jenkinsVerify the Jenkins service is running.
sudo systemctl status jenkins
 13. Click Terminate.
Return to the Instances page in the EC2 console.
Select the Jenkins instance.
Go to the Security tab of the instance details.
Note the IAM Role under Security details. You will look up the full ARN of this role later in this module.
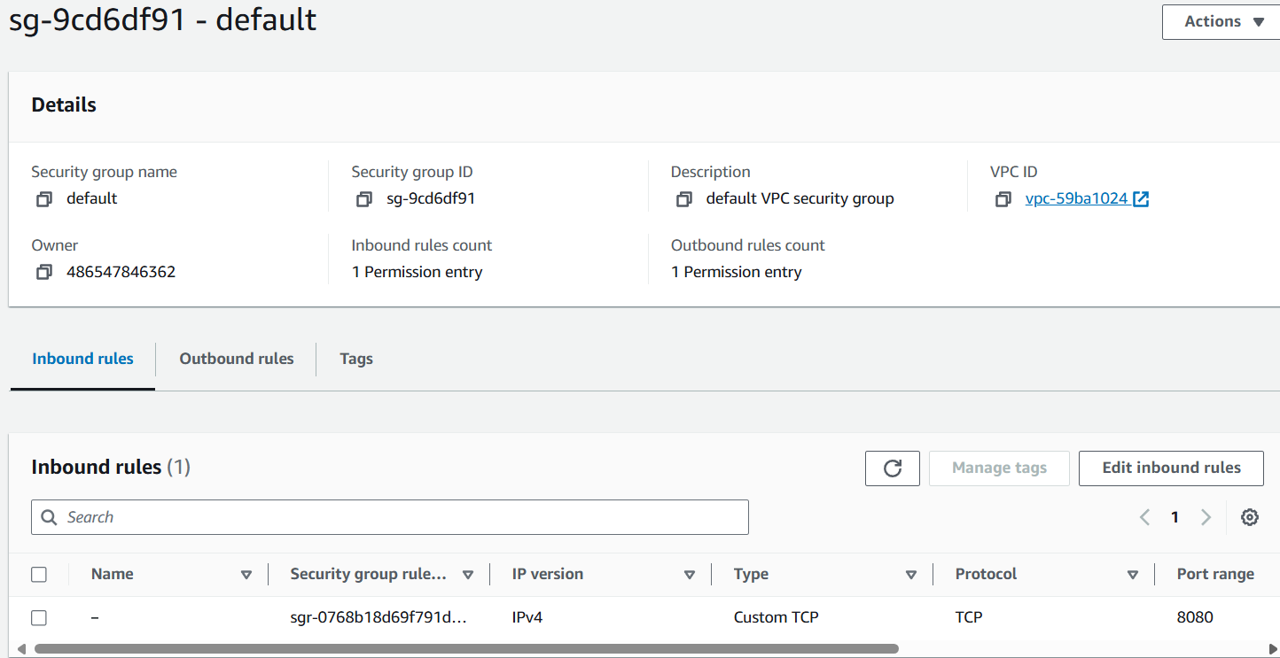
Under Security groups, click the security group attached to the instance. It will have a name starting with “sg-”.
You will be brought to the security group’s configuration. Click the Edit inbound rules button.
You will need to connect to the EC2 instance over port 8080 to reach the admin page of Jenkins. Click the Add rule button.
For the new rule, set Type to Custom TCP. Set Port range to “8080”. For Source, select My IP.
Click Save rules.
Configure an IAM role for the Jenkins CI/CD integration
We need to create an IAM role that allows access to the Amazon Scan API, that scans the software bill of materials, in Jenkins. Open the IAM console. https://us-east-1.console.aws.amazon.com/iam/home?region=us-east-1#/home
From the navigation pane of the IAM console, open Policies.
Click Create Policy.
In Policy Editor click the JSON button, and replace the policy with the following:
{
    "Version": "2012-10-17",
    "Statement": [
        {
            "Effect": "Allow",
            "Action": "inspector-scan:ScanSbom",
            "Resource": "*"
        }
    ]
}
Click Next.
On the Review and create page, input “InspectorCICDscan-policy” for the Policy name. This policy will be attached to the role you’ll create in a few steps.
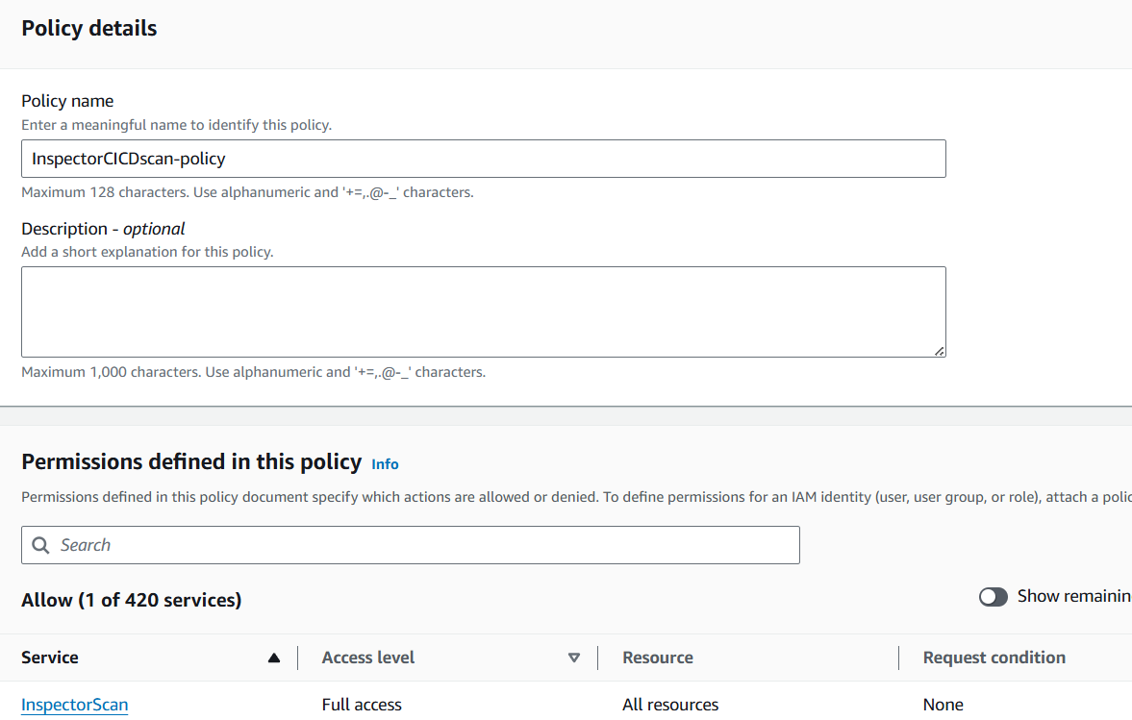
Click Create policy.
From the navigation pane of the IAM console, open Roles and search for the role you noted earlier (attached to the EC2 instance, Jenkins). The role should start with “cfn-InspectorLabsInfrastructure” and includes the term “SSMInstanceRole”. Click the name of the role to open the details.
Copy the ARN of the role. You will need this in a few steps.
From the navigation pane of the IAM console, open Roles and then click Create Role.
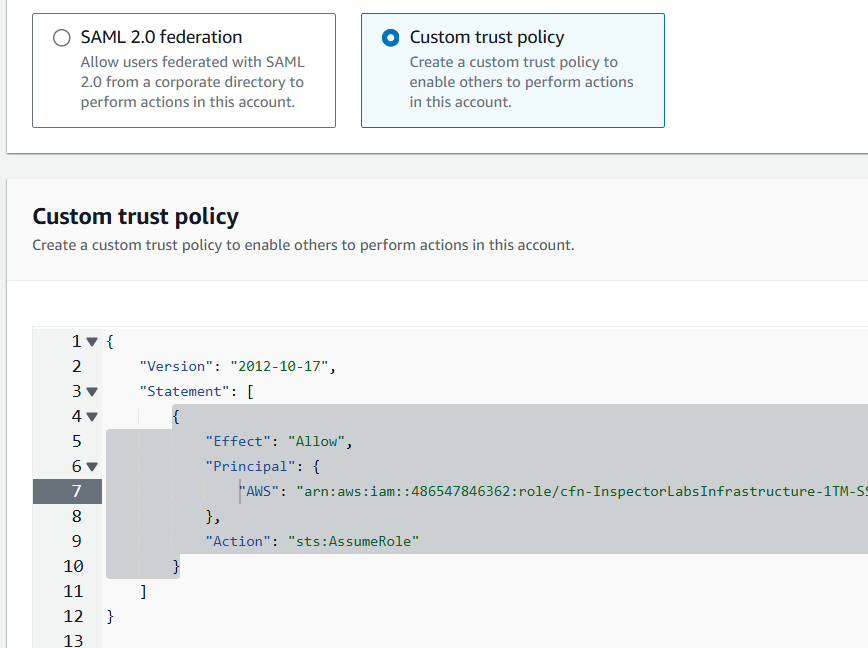
For Trusted entity type, select Custom trust policy.
Replace the Custom trust policy with the following. Replace “ARN” with the ARN of the IAM role you copied a few steps previously (that includes the phrase “SSMInstanceRole”).
{
    "Version": "2012-10-17",
    "Statement": [
        {
            "Effect": "Allow",
            "Principal": {
                "AWS": "ARN"
            },
            "Action": "sts:AssumeRole"
        }
    ]
}
 35. Click Next.
In Add permissions search for and select the policy you created earlier, “InspectorCICDscan-policy”. Then click Next.
Give the role the name “InspectorCICDscan-role”. Then click Create Role.
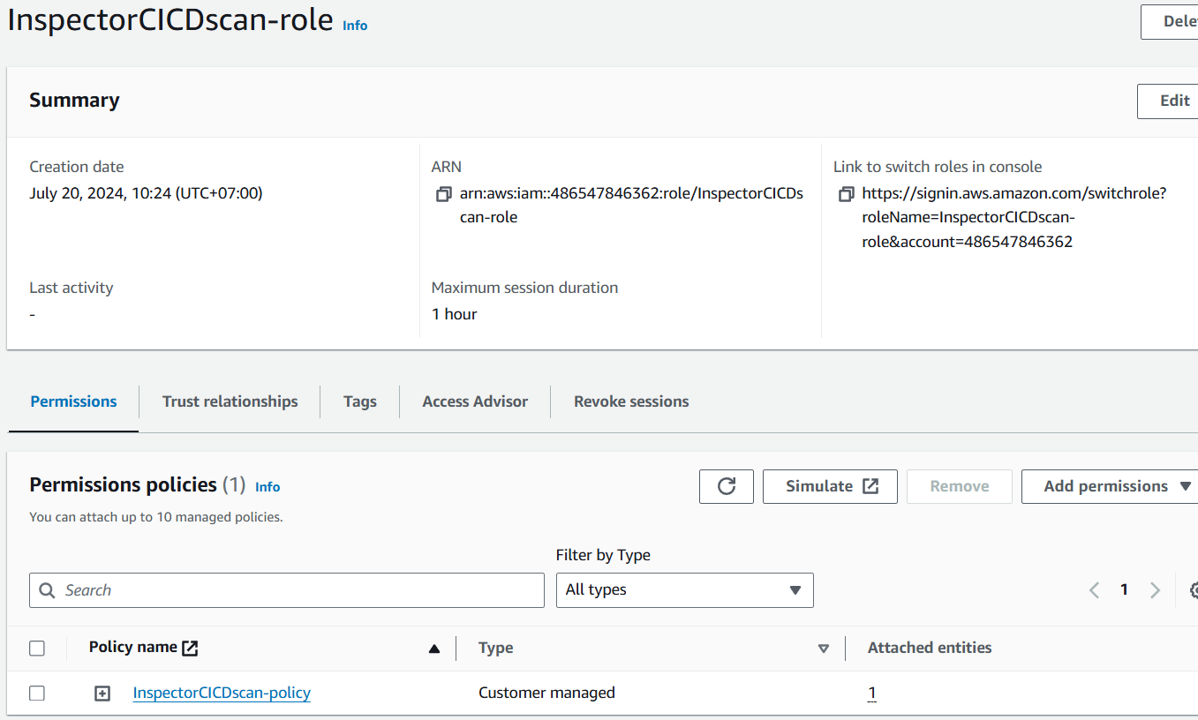
This IAM permission setup is used for the workshop, but may not be applicable to your own environment. In the workshop, the role attached to the EC2 instance that is hosting Jenkins, is given trust to the newly created InspectorCICDscan-role. The InspectorCICDscan-role will be used by Jenkins. Therefore, when Jenkins uses the InspectorCICDscan-role, it will assume the IAM role attached to the EC2 instance, which has permissions to the Inspector Scan service.
Configure Jenkins
Now that the instance has the correct security group and AWS permissions, you can configure Jenkins to use Inspector to scan for vulnerabilities. Return to the EC2 console, and open Instances page.
Select the Jenkins instance.
Click the Connect button at the top of the page.
Under the Session Manager tab, select Connect.
We will need to get the initial administrator password to log into Jenkins.
sudo cat /var/lib/jenkins/secrets/initialAdminPassword
 43. Copy the result. This is the initial Jenkins admin password. You will need this in a later step.
Click Terminate.
Go back to the EC2 console, and select the Jenkins instance.
Under the Details tab, copy the public IP address under Public IPv4 address.
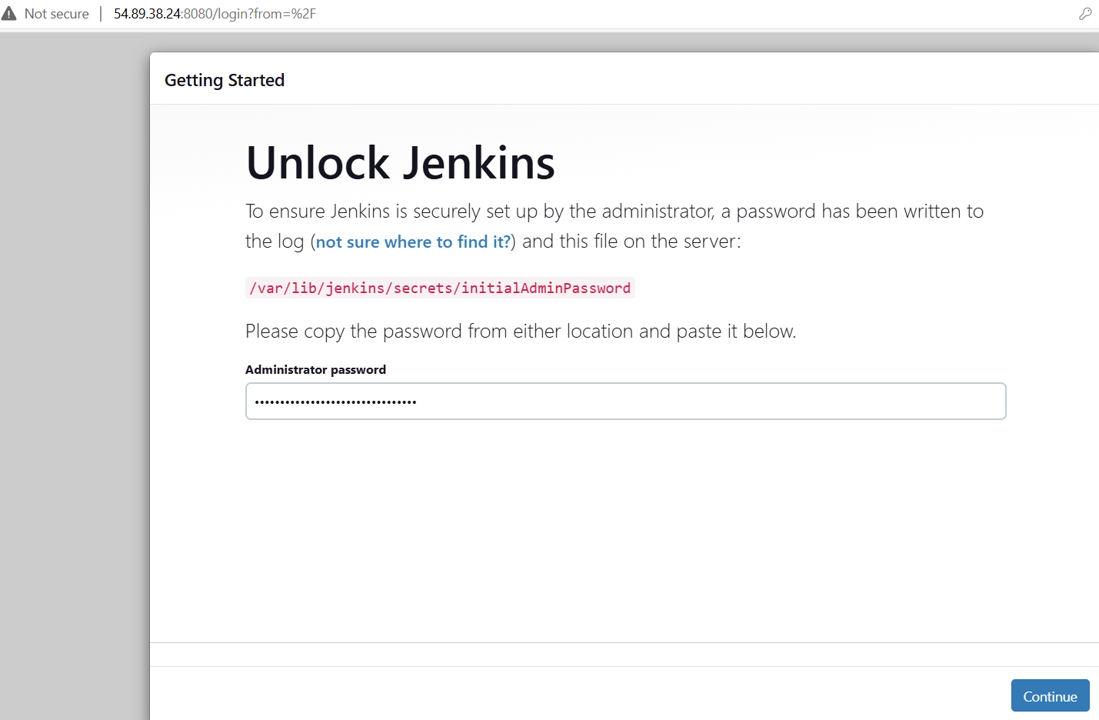
In a new browser tab, paste the IP address and add “:8080” to it. It should look similar to “xx.xx.xx.xx:8080”.
Input the initial admin password from earlier, and click Continue.
From the Customize Jenkins page, click Install suggested plugins.
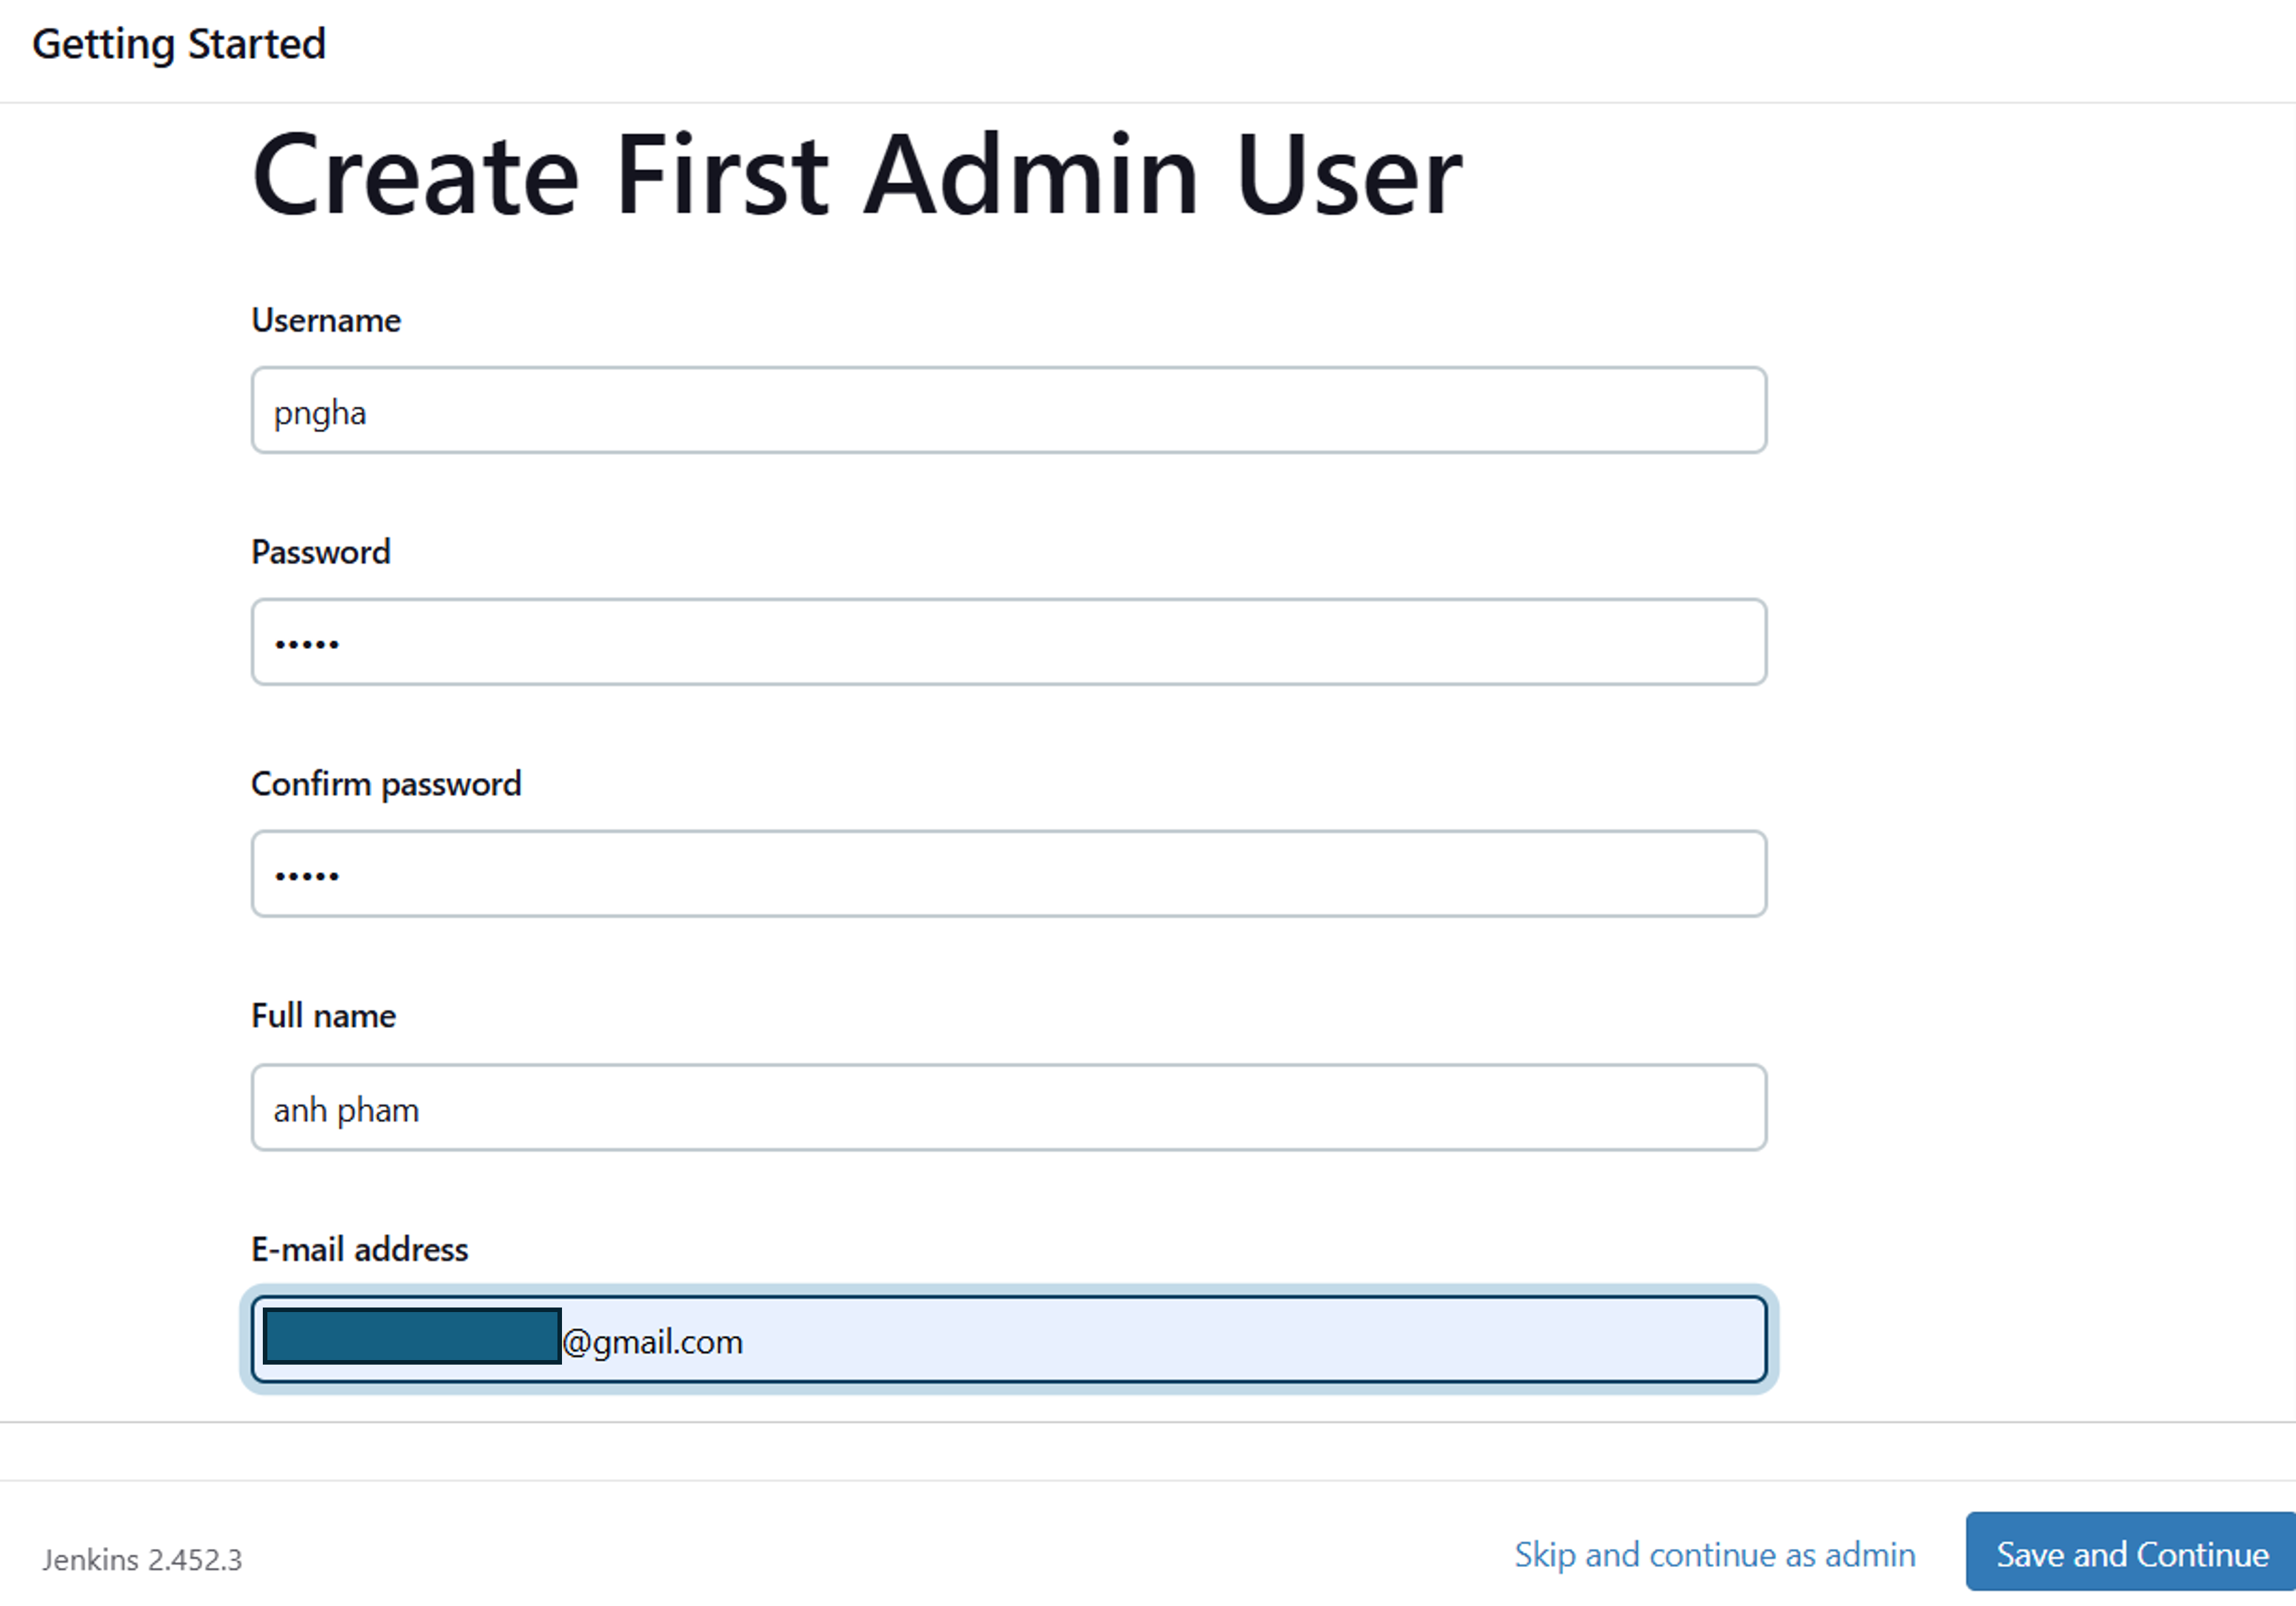
Once the installation is complete, the Create First Admin User page will open. Input your information, and then select Save and Continue.
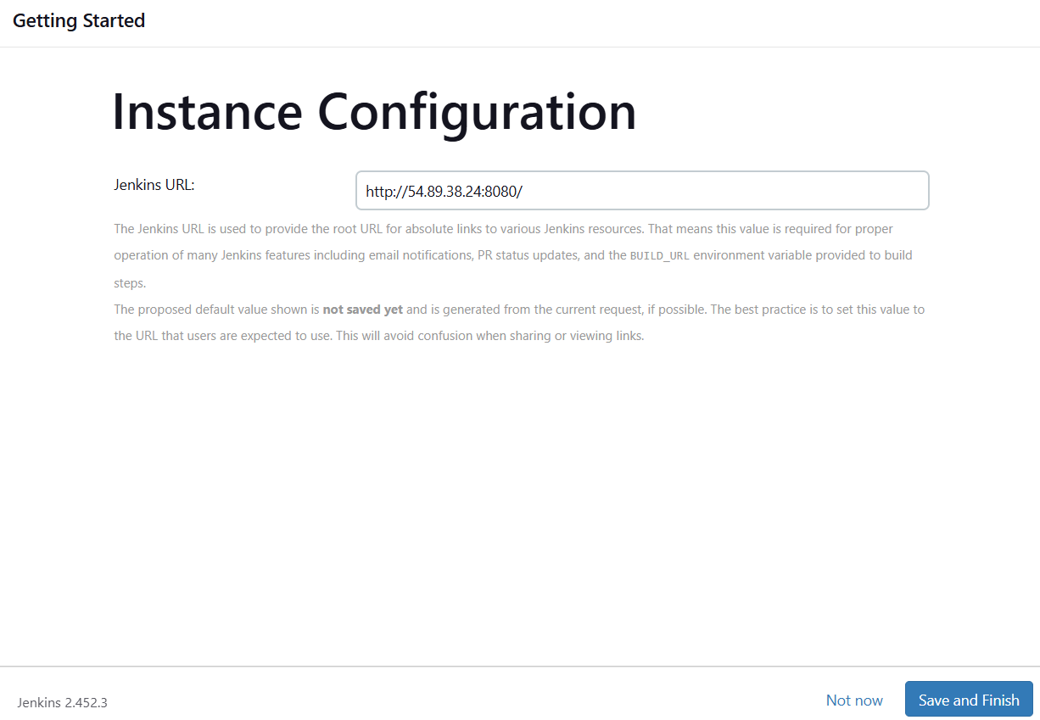
On the Instance Configuration page, click Save and Finish.
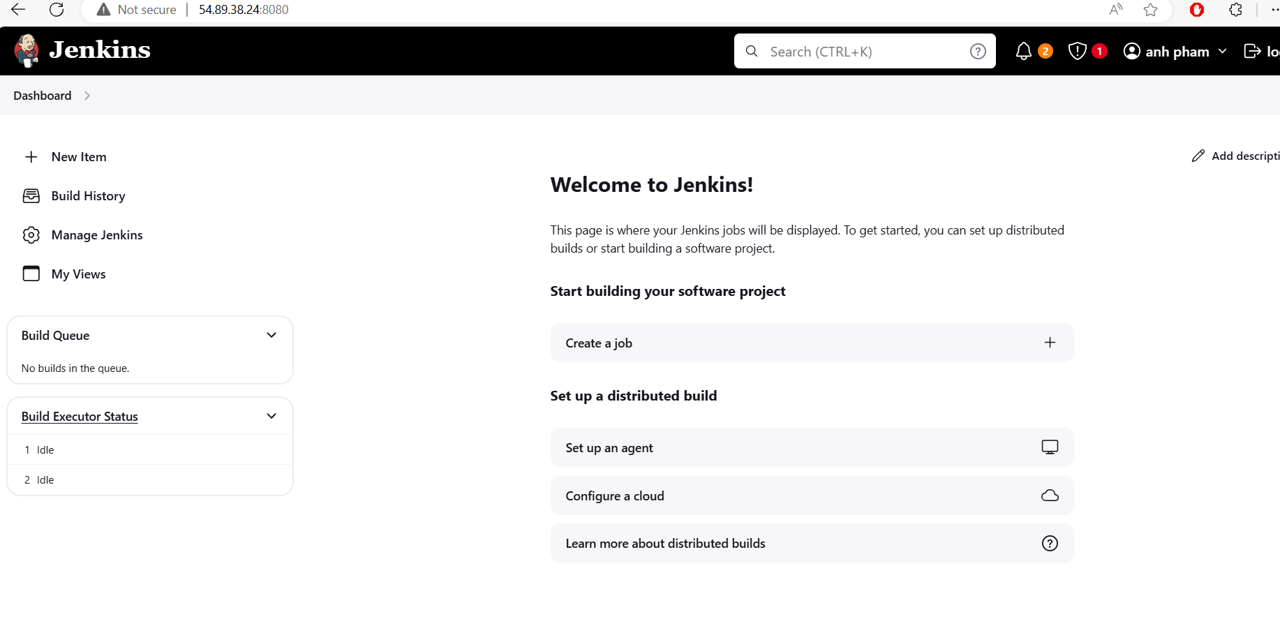
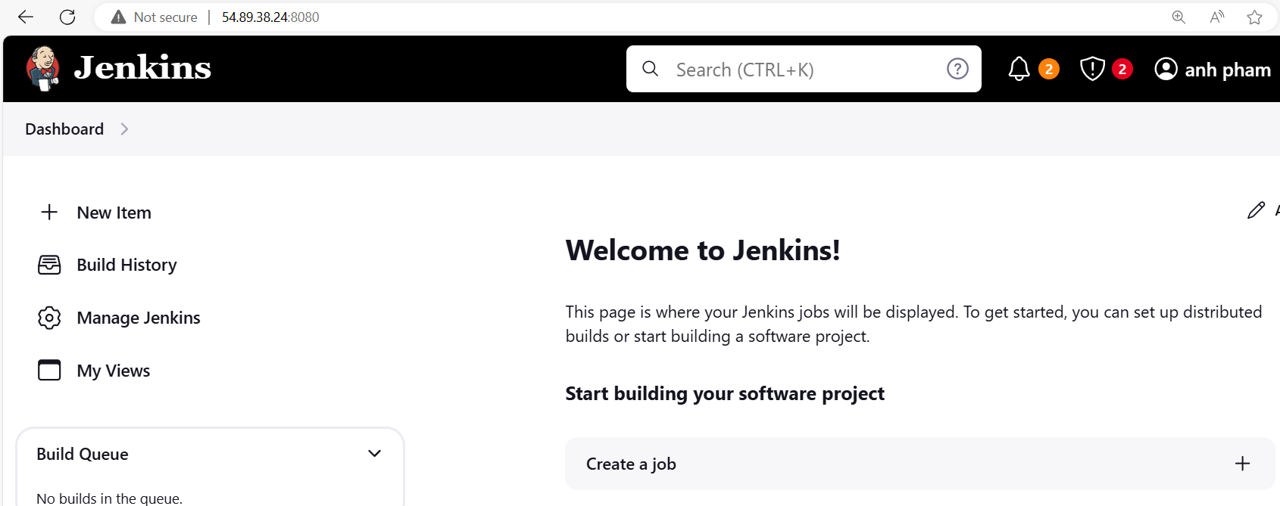
On the page displaying Jenkins is ready, click Start using Jenkins.
From the navigation, open Manage Jenkins.
Under System Configuration, open Plugins.
Select Available plugins from the menu.
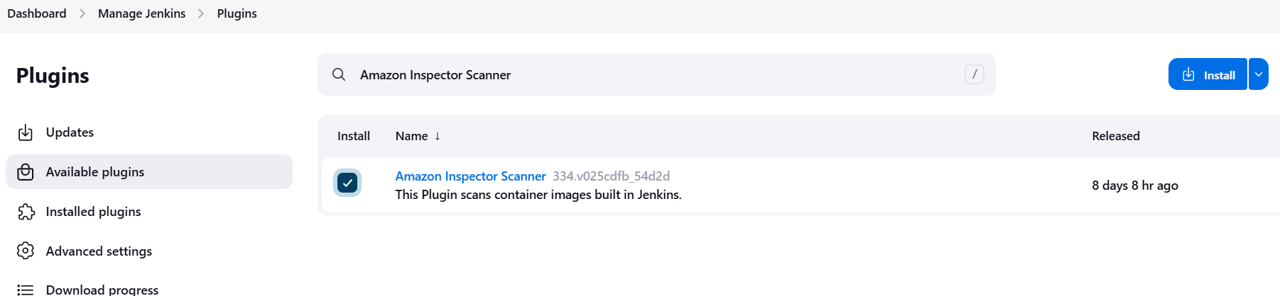
Search available plugins for Amazon Inspector Scanner.
Select the checkbox next to Amazon Inspector Scanner, and then click Install.
Wait for the installation to complete. At the bottom of the page, click Go back to the top page.
From the navigation, click Manage Jenkins.
Under System Configuration, click Nodes.
Click on Built-In Node.

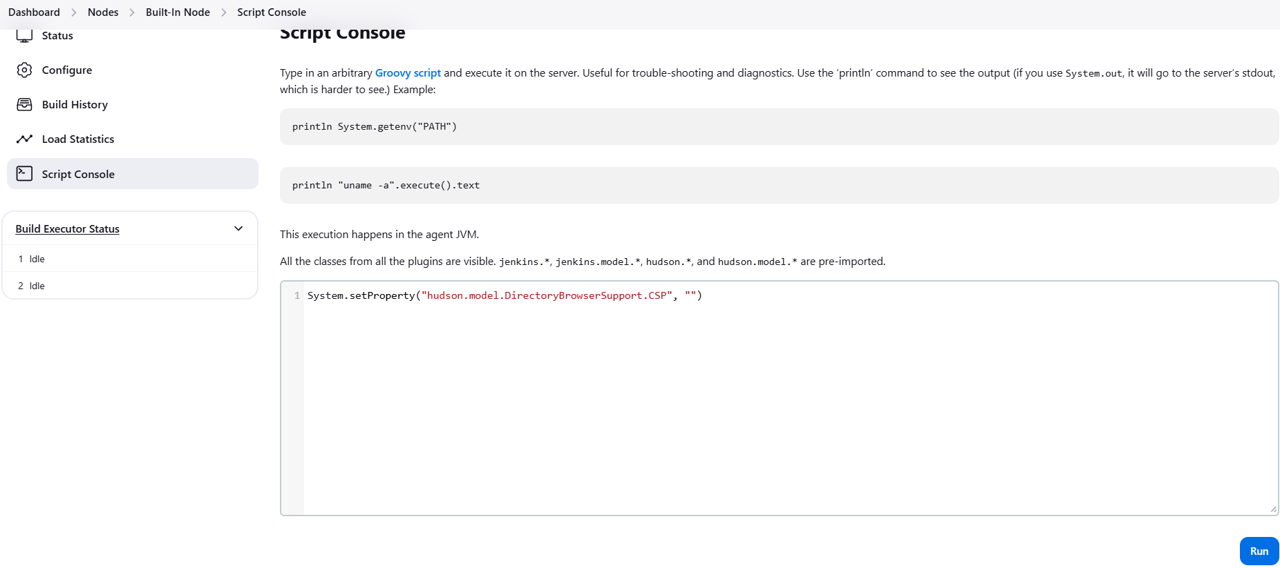
Open Script Console from the navigation.
In the text box add the following line:
System.setProperty("hudson.model.DirectoryBrowserSupport.CSP", "")Click Run.
Build a Jenkins job
Go to the Jenkins dashboard using the link in the top left, and select Create a job.
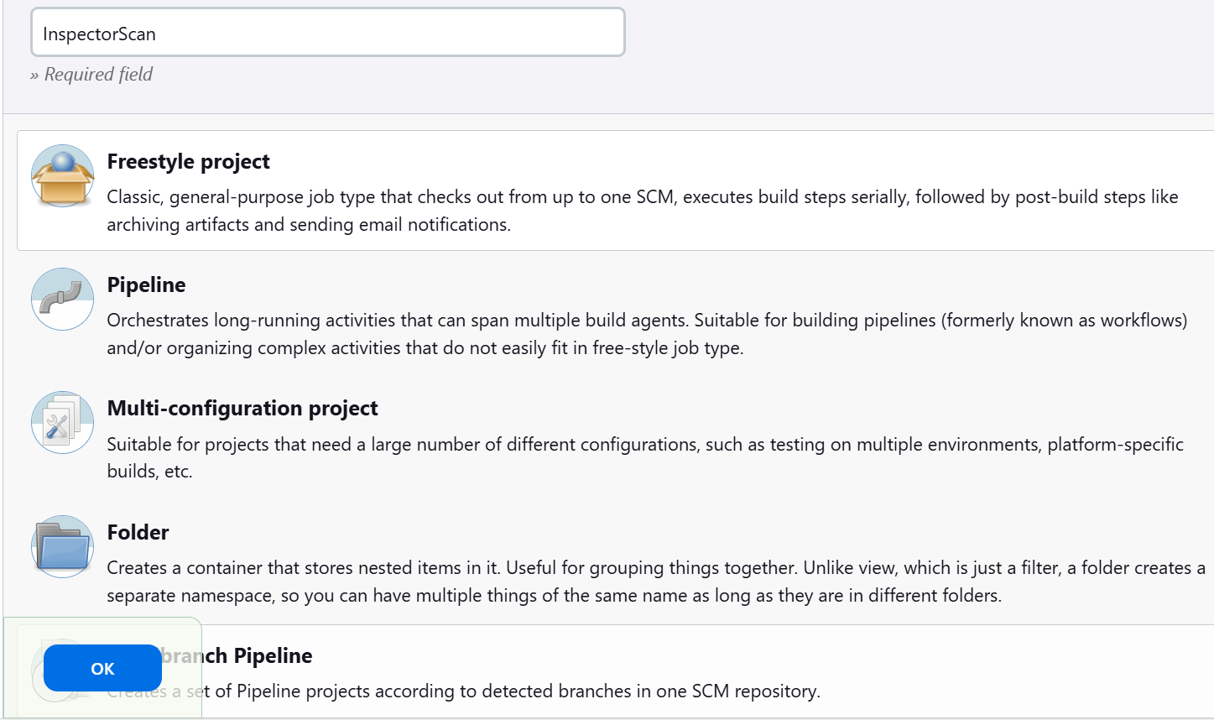
Under Enter an item name input “InspectorScan”.
Select Freestyle project, and then click OK.
Scroll down to the Build Steps section, click the dropdown Add build step, and choose Amazon Inspector Scan.
Select Automatic for the Inspector-sbomgen Installation Method, and then choose Linux, AMD64.
For Image Id, input “centos:latest”.
For AWS Region, select us-east-1.
In a new tab, open the IAM console and search for the role you created earlier named InspectorCICDscan-role. Copy the ARN. https://us-east-1.console.aws.amazon.com/iam/home?region=us-east-1#/roles/details/InspectorCICDscan-role
Paste the ARN of your IAM role into the Jenkins build configuration page.
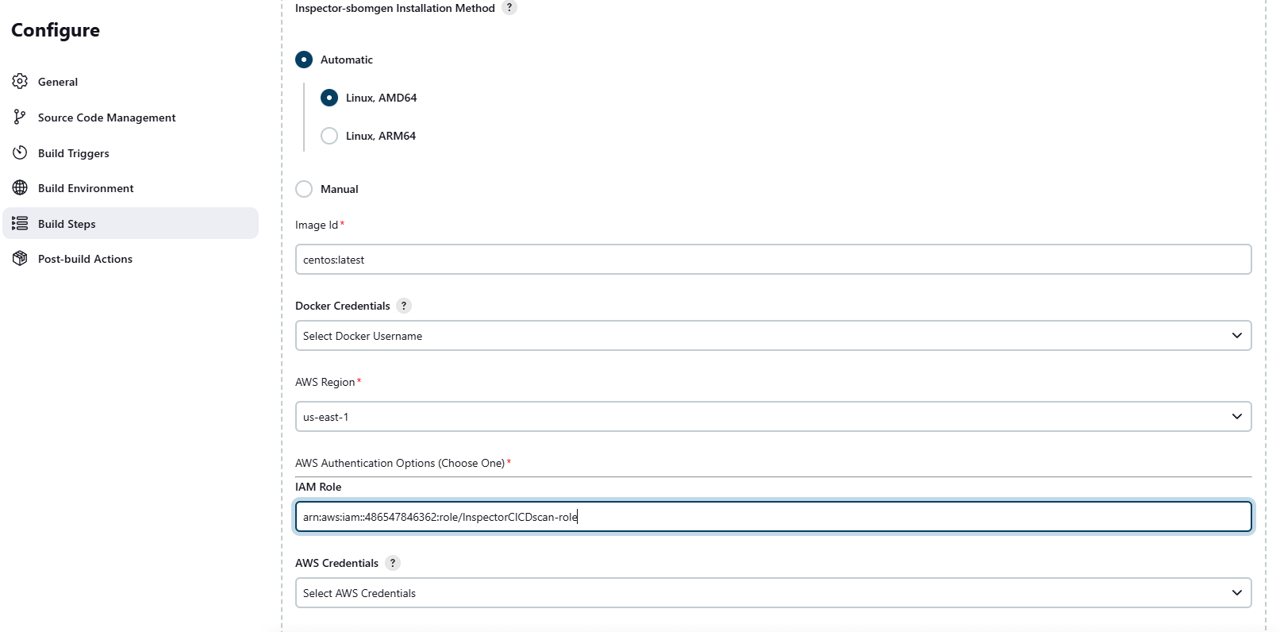
Click Save.
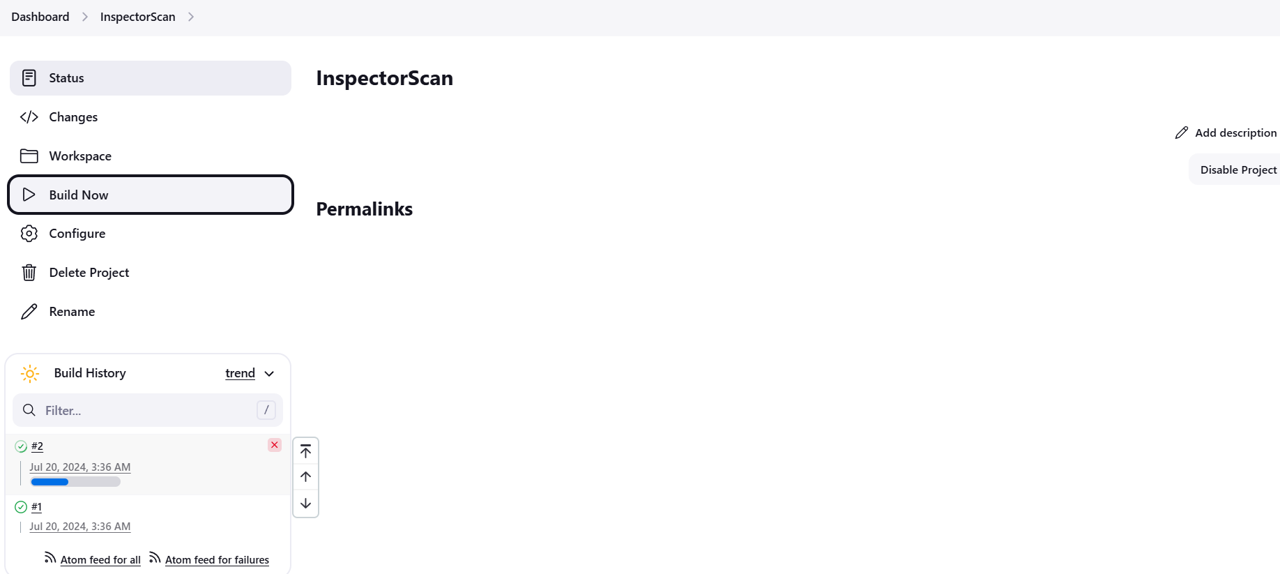
This will bring you to a dashboard for your Jenkins build job. From the navigation, click Build Now to create your first build. If you run into an issue with the build, try clicking Build Now again or ask your facilitator for assistance.
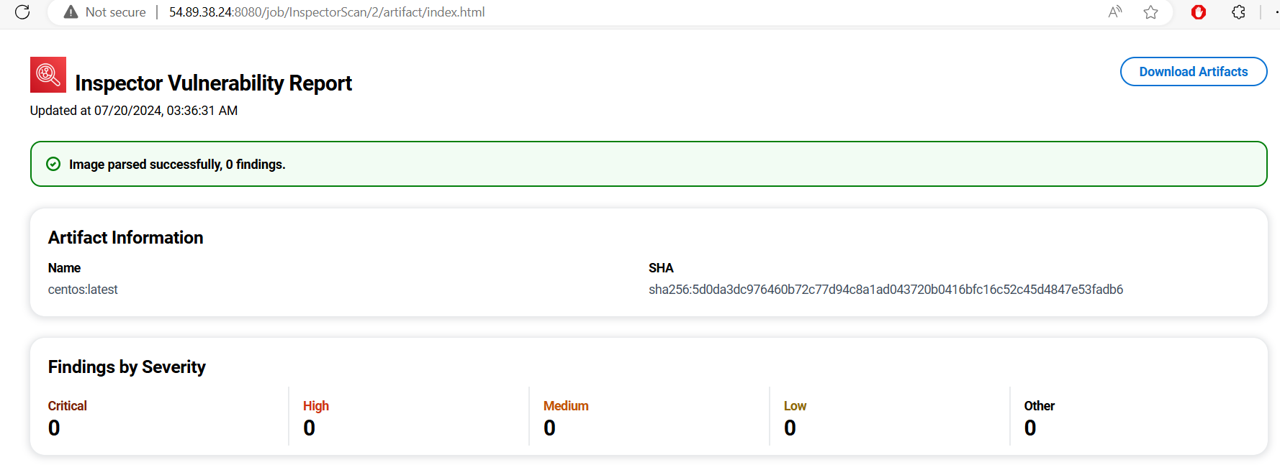
Review the build for vulnerabilities
Under Build History, look for a green checkmark to indicate a successful build. Click on the green checkmark.
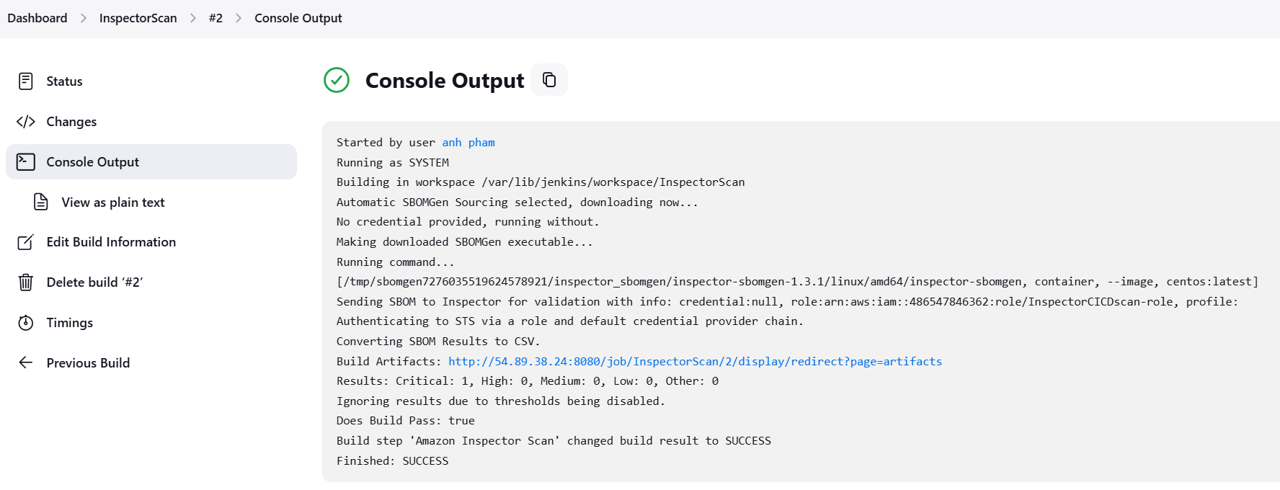
This will bring you to the console output of the Jenkins job. You can see that Inspector scanned the image and provides links to reports. Click the link next to Build Artifacts.
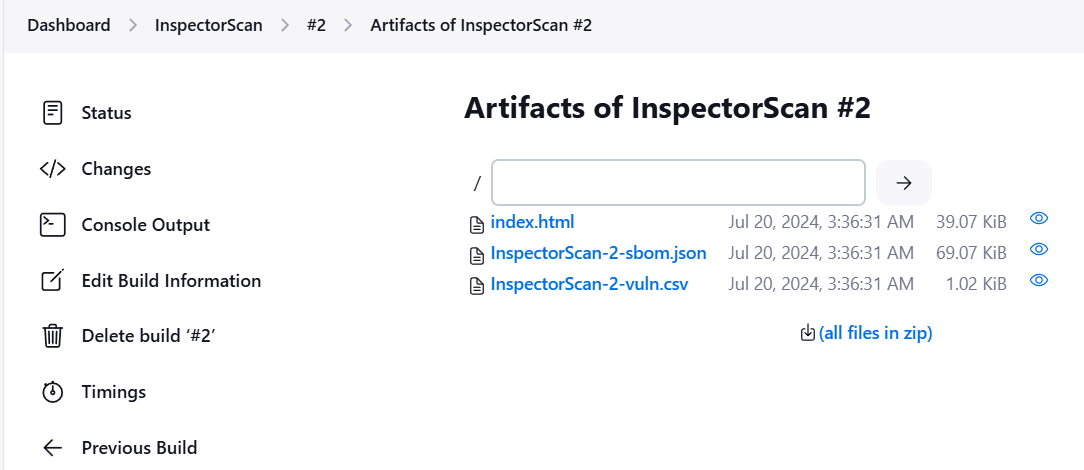
Click index.html. If there are any vulnerabilities, they will show in the report.